|
|
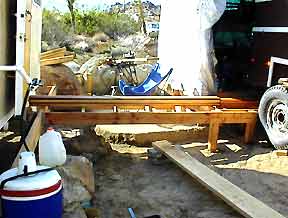
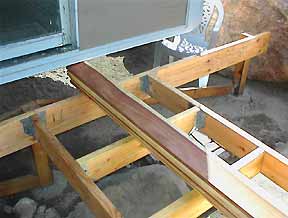
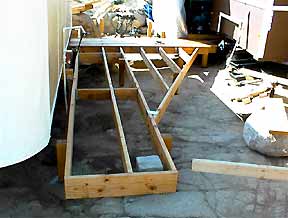
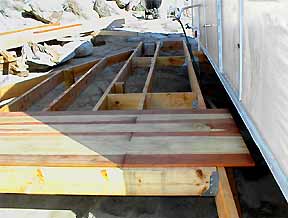
The Fore Frame & Decking |
|
|
|
|
|
|
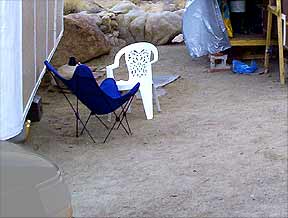
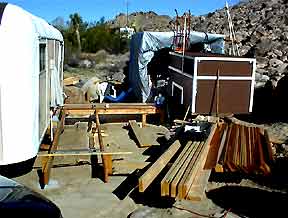
Before |
|
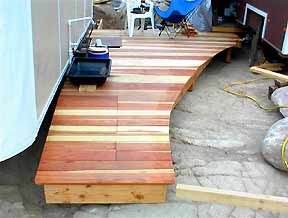
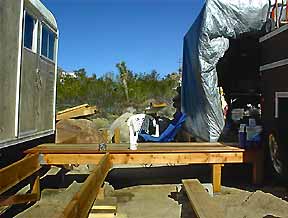
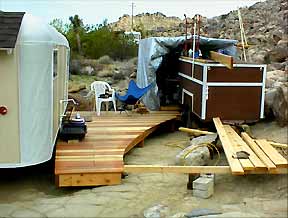
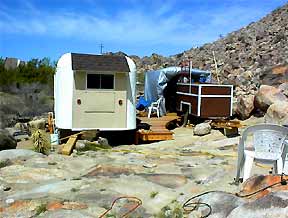
After |
|
|
|
|


|
|
|
|
|
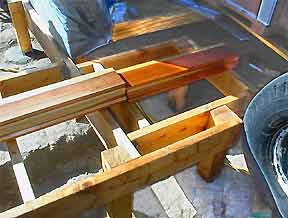
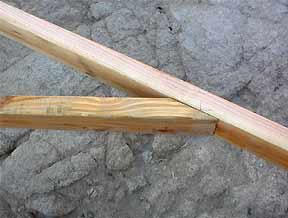
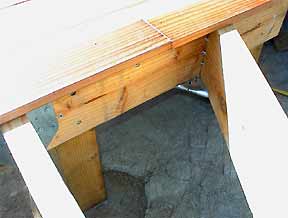
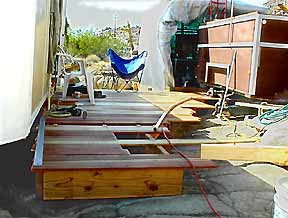
An evenly bent PVC pipe (originally used to reach & vacuum rust out of the water tank ) & an extension cord serve as a template for marking the curve of the deck. |
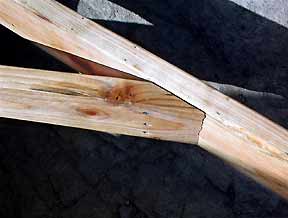
The curve is cut with a saber saw and the scrap fills in the gaps. It is sanded even with a belt sander. The edges are smoothed with a sanding block and the ends treated with 50/50 linseed oil/mineral spirits. |
|
|
|
|
|
|