|
|
|
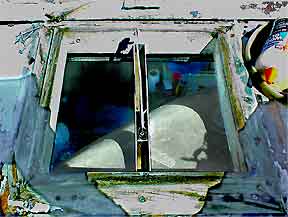
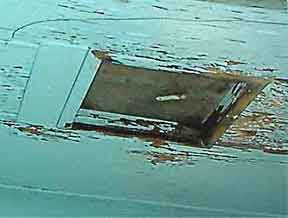
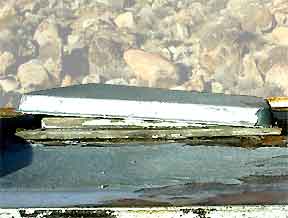
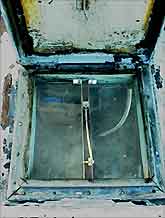
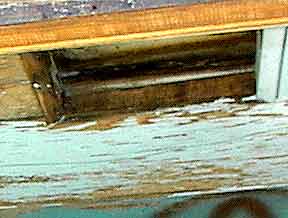
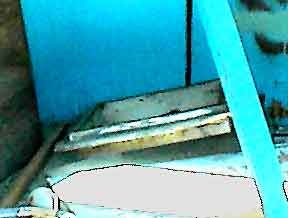
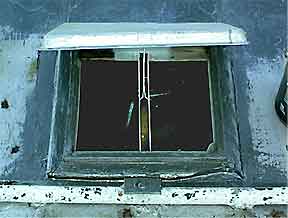
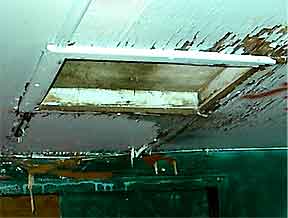
I would like to retain these vents because they are the original, but in terms of insulation and functionality, it may be more practical to purchase new “RV” vents.
If I do keep them:
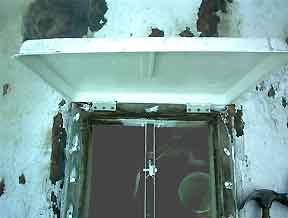
tighten up the front vent's mechanism,
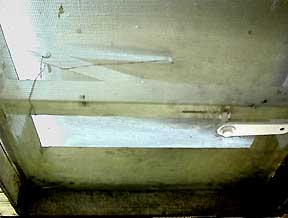
find andattach a new handle to the rear,
build a new interior box for the front,
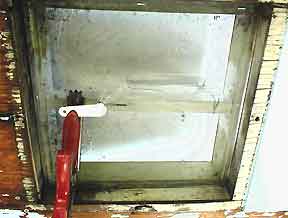
clean the copper screens,
insulate properly,
paint.
|