|
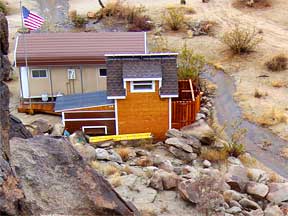
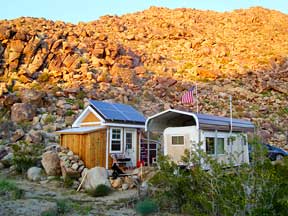
January 21, after a few days of rain.
(The
first corrugated roof was added in 2006) |
3 months later.
|
|
|
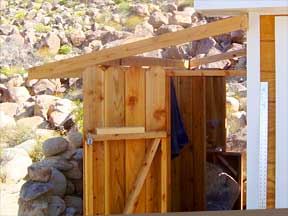
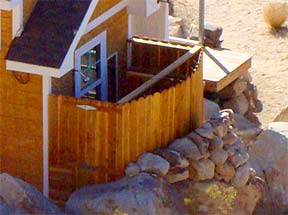
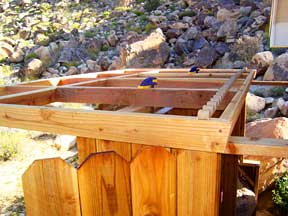
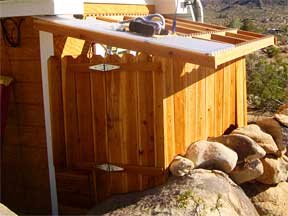
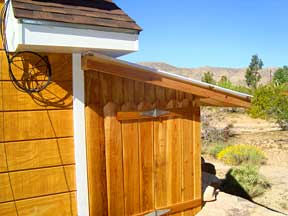
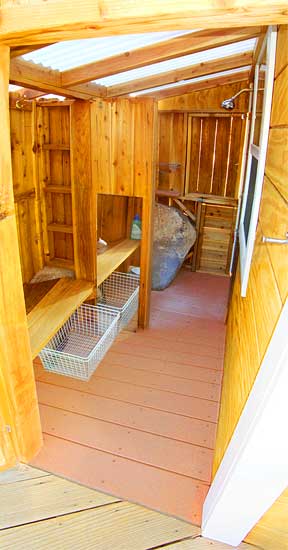
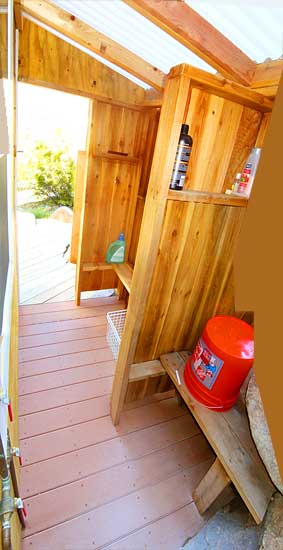
Built this shower stall
last year.
Now adding a roof. |
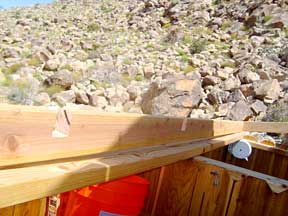
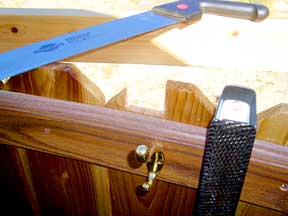
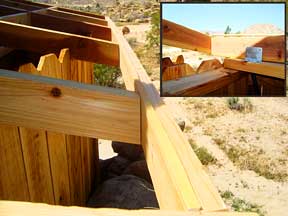
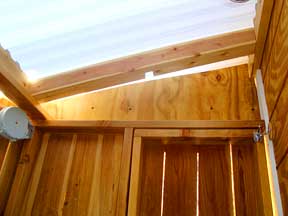
Actually got these notches right |
and got these notches - wrong! |
|
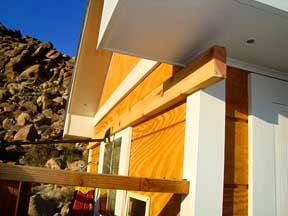
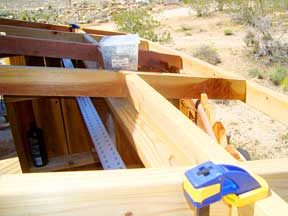
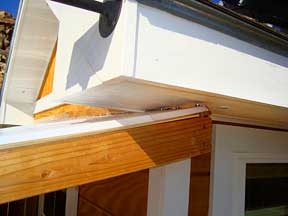
Though notched here, the frame will not
rest on this wall. |

Cantilevered from the center T-beam, it
only passes through the outside wall. |
|
|

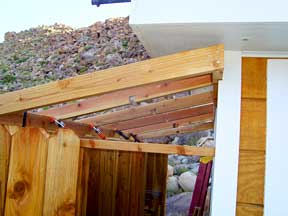
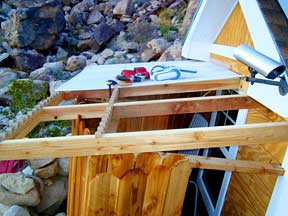
Doubled up the inside rafters to absorb
weakness at the misplaced notches. |
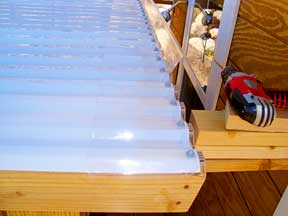
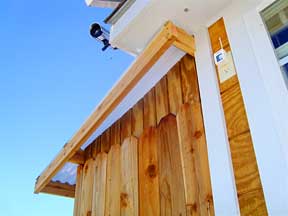
Attaching a narrow lath to the top edge
of each vertical beam to tilt the ... |
... Suntuf Horizontal Closure Strips even
with the slope of the roof. |
|
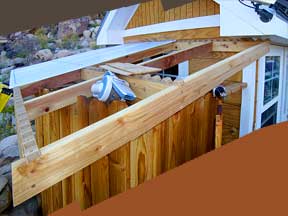
Again, lath on the top edge of each cross
beam so that the panels will lie flat. |

The closure strips raise the panels 1/4" so
lath on the rafters eliminates sagging. |
Using the suggested rubber collared
screws, careful not to dimple the panel. |
|
Adding the clear Wall Connector Flashing
across the top - before drilling. |
Vacuuming the drilling debris so as not to
litter the area with the plastic spirals. |
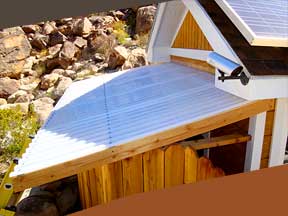
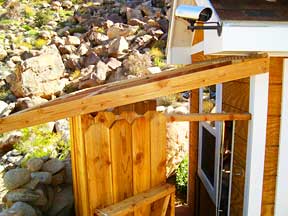
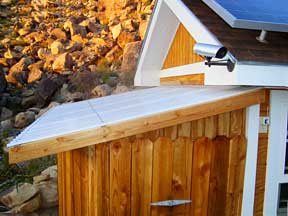
A SUNTUF® Polycarbonate Corrugated
Panel Roof |
|
|
|
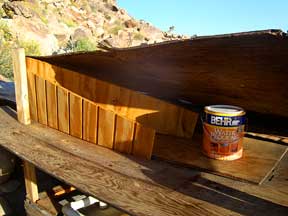
Treating the side panels where the
spillage will do some good. |
|
|
Setting the side panels in loose for now,
but tight. |
Will frame them next year
after we return. |
|
|
|
 |