Expanding Foam


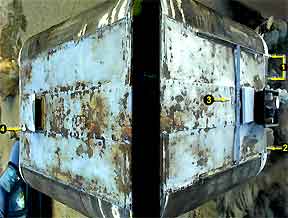
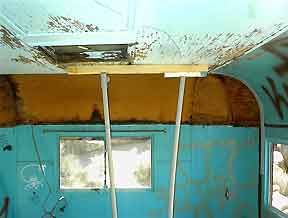
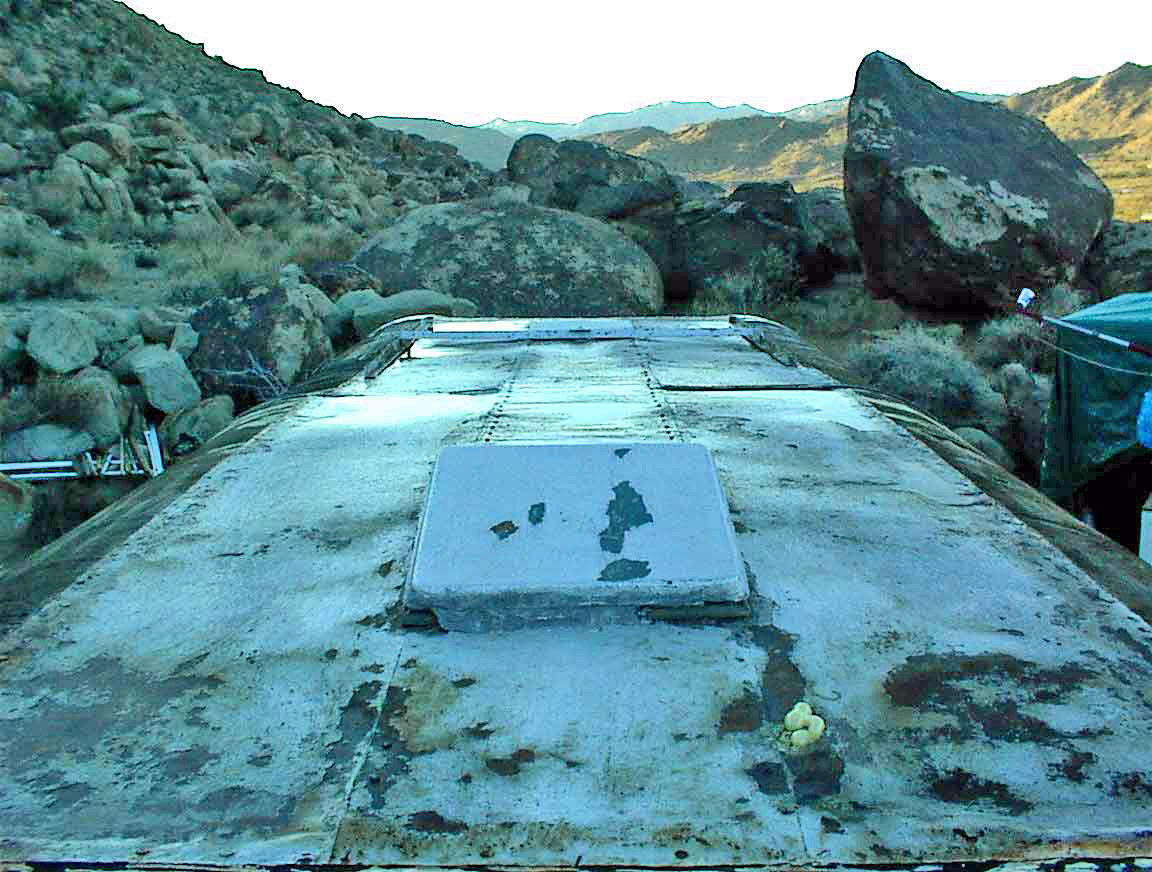
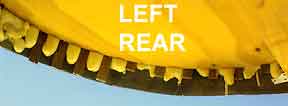
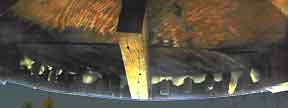
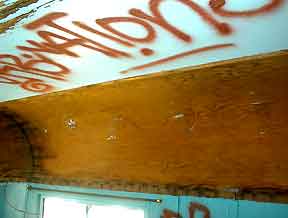
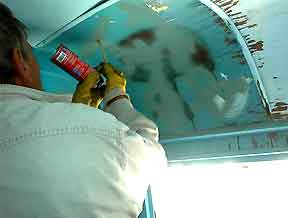
I like foam. Now that it is non-toxic and no longer harms the ionosphere, I can use it in good conscience. It seems to be a wonderful invention that solves all kinds of problems. Everything it touches bonds together. It fills cavities. It adds strength. It insulates. It waterproofs. It soundproofs. It is easy to use and easy to clean up --- if it is done properly.

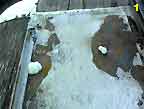
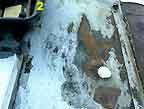
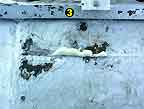
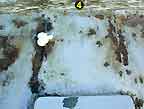
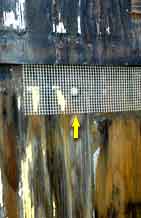
When it contacts moisture in the air, it expands. If too little is injected, then it does not reach its full potential. If too much is injected, it begins to push things apart. I prefer to go for the latter, reinforcing where necessary. It does not push too hard – masking tape over a dime size hole is enough to stop it. On the other hand, it can bulge a linoleum bathtub wall if the wall is not temporarily braced.

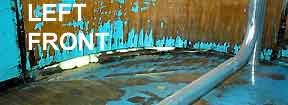
It can even be used under water, though it will disintegrate in hot water and coat everything with a sticky mess. It will also evaporate in the direct rays of the sun, so exposed foam must be painted or wood filled over.

One additional advantage: it shuts out the mice, bats, spiders, bugs and anything else that might try to find its way in.

Scraped the tin roof and foamed the holes ...
This 1st foaming actually didn't take too well

This composite shows where the 4 shots to the right were taken during the 2nd foaming

These shots show 5 foamed holes. The bulbs will be sliced off and the holes painted

The ceiling is propped up to assure that the foam above does not push it down

Outside and in: foamed where the power line used to enter

Where the puddles form. There are more in the foreground – just not reflecting the sky

The bullet hole in and out and foamed

Before, during, after: foamed and puttied the lamp hole above and to the right of the door

This is another hole that was later foamed, but I did not get a picture of it

Injected foam between the slats. (This is on the right if standing outside facing the rear)

Likewise ...

Even the taillights were insulated. Temporary cellophane leaves the lens removable

Injected from below. Did not get a top shot, but no foam showed below the wall above it

Injected from below. This load did find its way up to and under the wall above

While I was at it, I filled a hole in the wall near the screen door pocket

Drilled holes and injected into this ceiling-wall to strengthen the same section of the roof

Likewise where it extends over the kitchen

Also every 10” or so down the center of the ceiling to support the tin roof above

Still to do:

The foaming I did through the ceiling was not enough; those stretches of the roof are still too soft. So I will drill more holes between those that I did foam and inject some more. I plan to continue down the center of the bedroom ceiling and along the other 5 curved sections that were not done at all.

All of the drilled and foamed holes will need to be plugged with wood filler. The dried foam will press inward easily for this. In fact that is the reason why they need to be wood filled; a curious finger could leave a permanent indentation long after the paint dries. Also, the foam will not sand smooth to near invisibility, whereas the filler will.