Giving Our Solar Energy A Destination


BEFORE

DURING

AFTER

Click here to see work done in 2002


The rear right corner of slats & canvas
The slats were repaired at the base in 2001

Slits in foam panel are 1" apart, 3/4 deep.
Poly skin on other side holds it together.

The multi-slit Insulfoam R-TECH panel
takes the curve without breaking

Slicing a lauan panel to fit

The lauan board takes the curve nicely

Polyurethane highlights the mahogany veneer

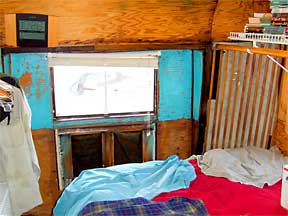
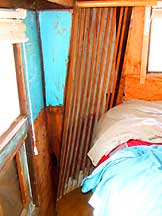
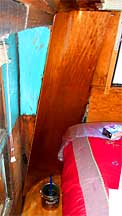
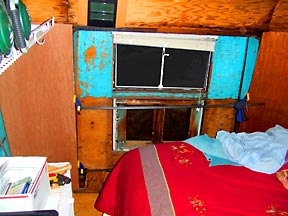
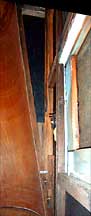
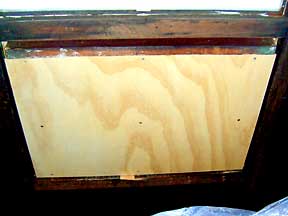
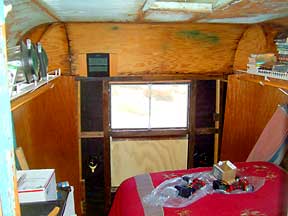
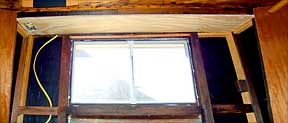
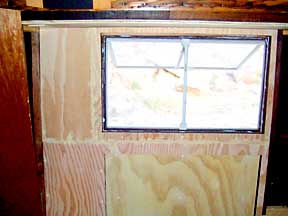
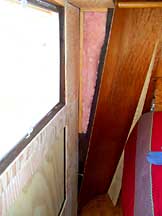
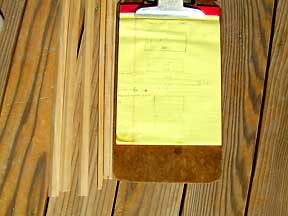
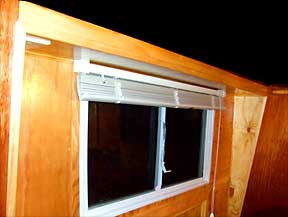
The rear left corner of slats & canvas, reinforced with fiberglass tape outside

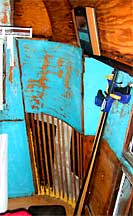
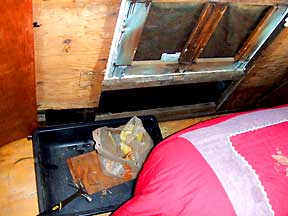
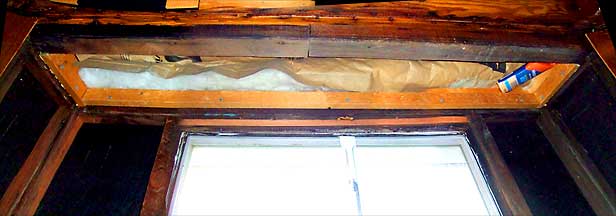
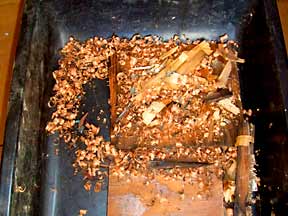
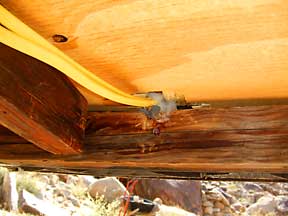
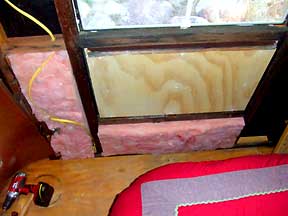
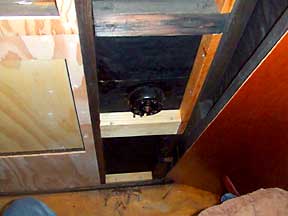
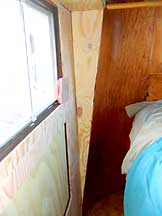
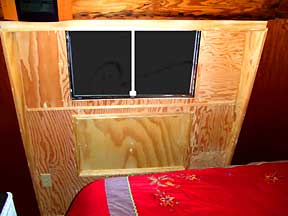
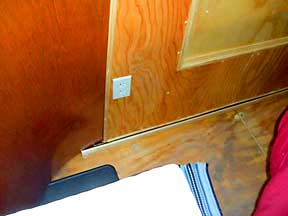
Foam was blown between the slats at the base in 2001 to lock them in place and seal the gaps

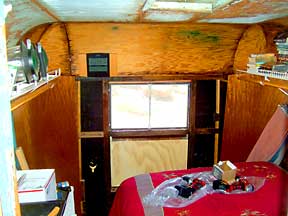
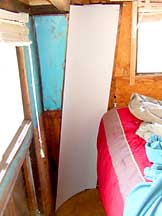
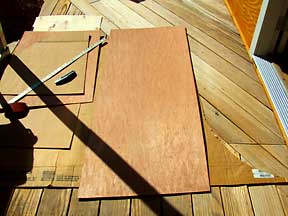
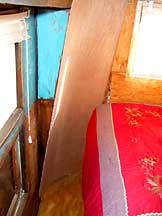
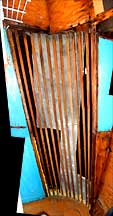
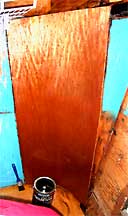
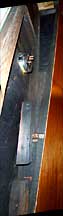
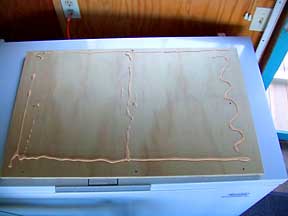
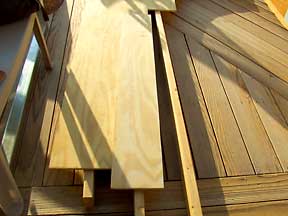
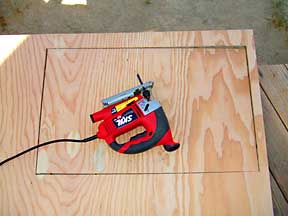
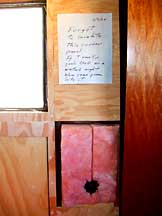
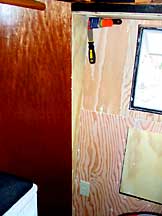
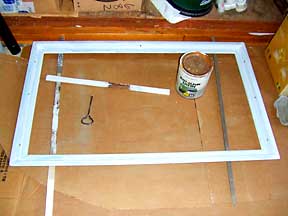
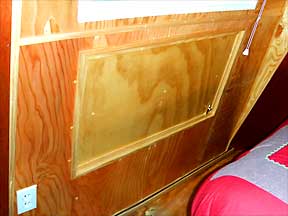
Multiple slits down the back of the foam board allow it to take the curve without breaking

This lauan board was cut with a
box knife to fit the corner

Clamps push the board into position so that
it can be nailed tight with 1.5" brads

Polyurethaned

This was the travel trailer's trunk until I removed its wall and ceiling in 2001


In 1969 I had bumped the top of this wall outward so that it would be verticle

The left side
of the recess

Adding 1x2 framing strips for nailing in a new ceiling panel

The right side
of the recess

Left original lock there should somebody want it one day

Shaved the excess off of the warped frame

Preparing to glue the new panel to the frame

The piano hinge at the top would allow this gate to be kicked out in an emergency

The edges are caulked with silicone sealant so it could be popped out and up if necessary

More 1x2 framing strips

Running lamp and outlet wires up to the recess


Measurements for the recessed ceiling


Not going to actually hang a lamp here now; just want it available

Insulated backwards!! (kicking myself ever since)


More 1x2s and backward insulation


First coat

Second coat

The box is there if I later decide to add a lamp


The base molding still needs some work


Copyright © 2008, Van Blakeman